When it comes to lighting up your kitchen, can lights are a popular choice due to their versatility and sleek design. The proper layout and placement of can lights can make a significant difference in the functionality and aesthetics of your kitchen. In this blog post, we will discuss some tips and guidelines for achieving the perfect kitchen can light layout and placement.
Consider the Size and Shape of Your Kitchen
Before diving into the specifics of can light placement, it’s important to consider the size and shape of your kitchen. This will help determine the number of can lights you will need and their distribution throughout the space. Larger kitchens may require more can lights to ensure even lighting, while smaller kitchens may need fewer lights.
Focus on Task Lighting
In the kitchen, task lighting is crucial for performing various activities such as cooking, chopping, and reading recipes. Can lights can be strategically placed to provide adequate task lighting in key areas. For example, installing can lights above the sink, stove, and kitchen island can ensure that you have enough light for all your cooking and prepping needs.
Avoid Shadows and Glare
When planning the placement of your can lights, it’s important to consider the potential for shadows and glare. Shadows can make it difficult to see while working in the kitchen, while glare can be uncomfortable and strain your eyes. To avoid shadows, aim to have your can lights positioned in a way that they illuminate the entire work surface without casting any shadows. Additionally, consider using adjustable trims or baffles to reduce glare.
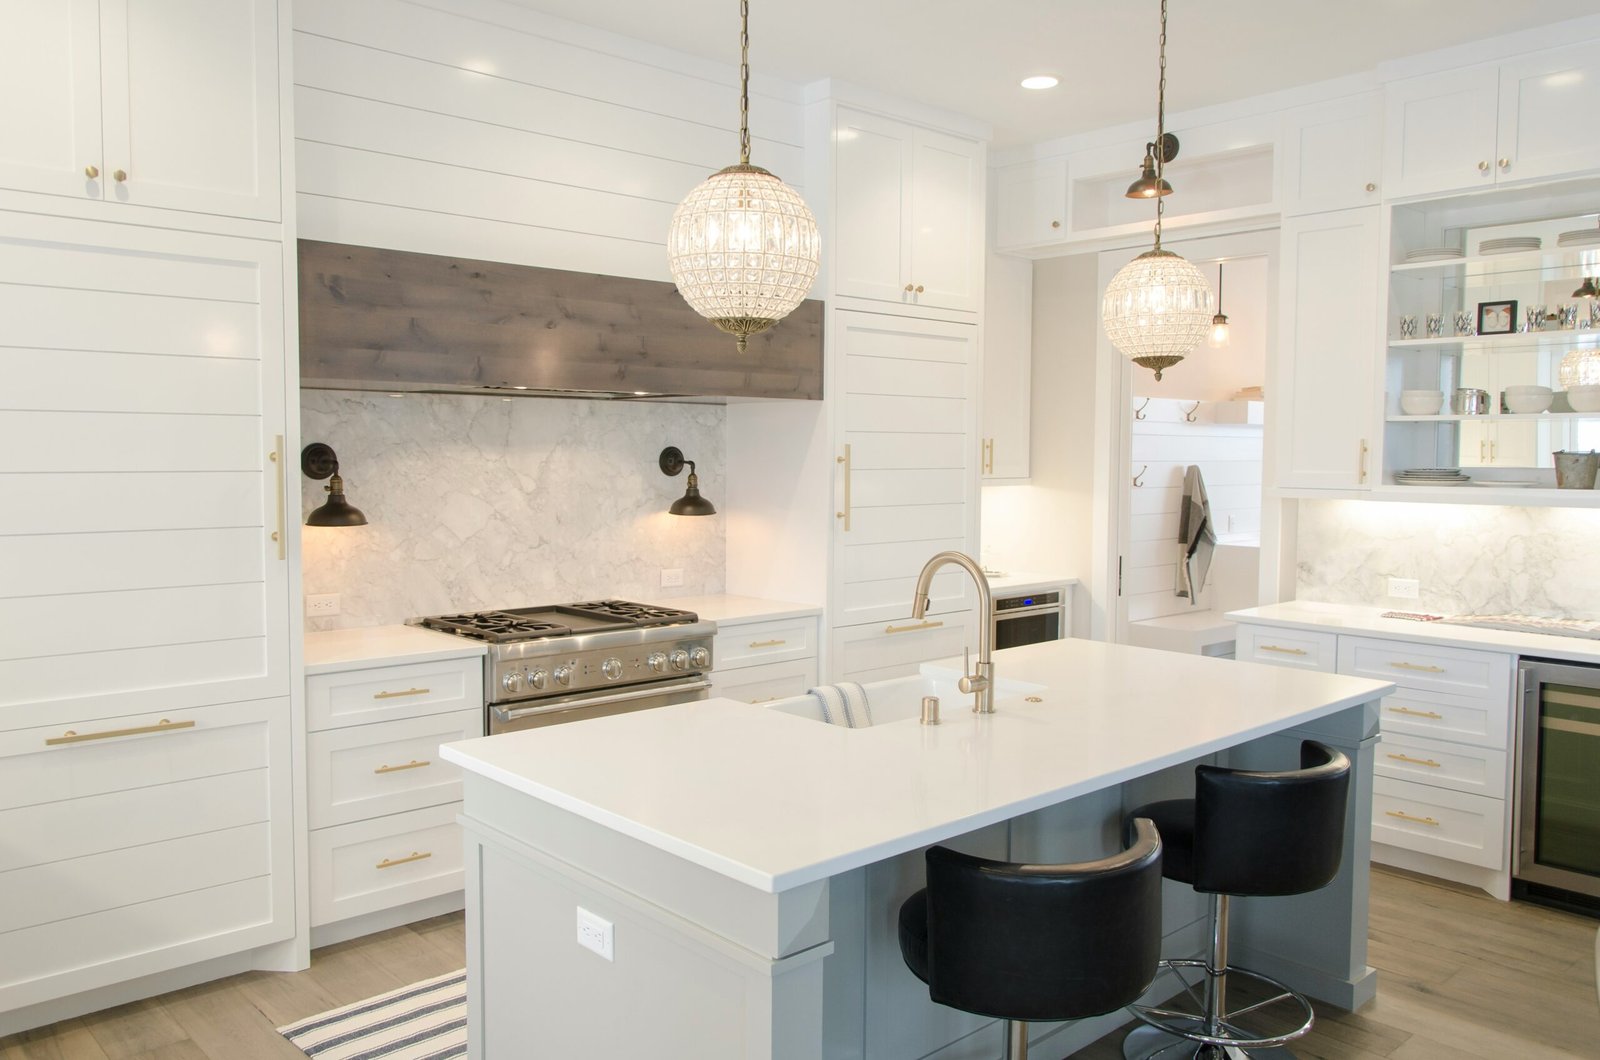
Create a Layered Lighting Scheme
While can lights are great for providing general lighting in the kitchen, they should be complemented with other types of lighting to create a layered lighting scheme. This can include under-cabinet lighting, pendant lights, or a decorative chandelier. By combining different types of lighting, you can achieve a balance between functionality and aesthetics, creating a warm and inviting atmosphere in your kitchen.
Spacing and Distance
The spacing and distance between can lights play a crucial role in achieving an even and balanced lighting layout. As a general guideline, can lights should be spaced approximately 4 to 6 feet apart to ensure uniform illumination. The distance between the can lights and the wall should be about half the distance between the lights themselves. However, these measurements can vary depending on the specific needs and layout of your kitchen.
Consider Dimmers and Controls
To further enhance the versatility of your kitchen lighting, consider installing dimmers and controls for your can lights. Dimmers allow you to adjust the brightness of the lights according to your needs and mood, while controls can help you easily turn on/off or adjust multiple lights simultaneously. This level of control gives you the flexibility to create different lighting scenes and adapt to different activities in your kitchen.
Consult a Professional
If you’re unsure about the best layout and placement for your kitchen can lights, it’s always a good idea to consult a professional lighting designer or electrician. They have the expertise and experience to assess your kitchen’s specific requirements and provide recommendations that will optimize both the functionality and aesthetics of your space.
In conclusion, the layout and placement of can lights in your kitchen can have a significant impact on both the functionality and ambiance of the space. By considering the size and shape of your kitchen, focusing on task lighting, avoiding shadows and glare, creating a layered lighting scheme, paying attention to spacing and distance, and incorporating dimmers and controls, you can achieve the perfect kitchen can light layout. Remember, when in doubt, consult a professional to ensure you get the best results!